
I’ve spent the last week test-driving Google Antigravity, and the experience feels really different from the current AI coding tools.
With tools like Cursor or Claude Code, you are the Operator. You prompt, it codes; you refine, it edits.
Antigravity feels less like using a tool and more like managing a team of AI employees. You assign tasks, they work in parallel then come back to report progress. You review their work, approve it, and they move on.
This is a subtle shift, but it represents a massive evolution in how we build software.
What is Antigravity #
In short, Antigravity is Google’s new AI-powered development platform (IDE) that looks like another VS Code Fork. However, it introduces three features that set it apart from current AI IDEs:
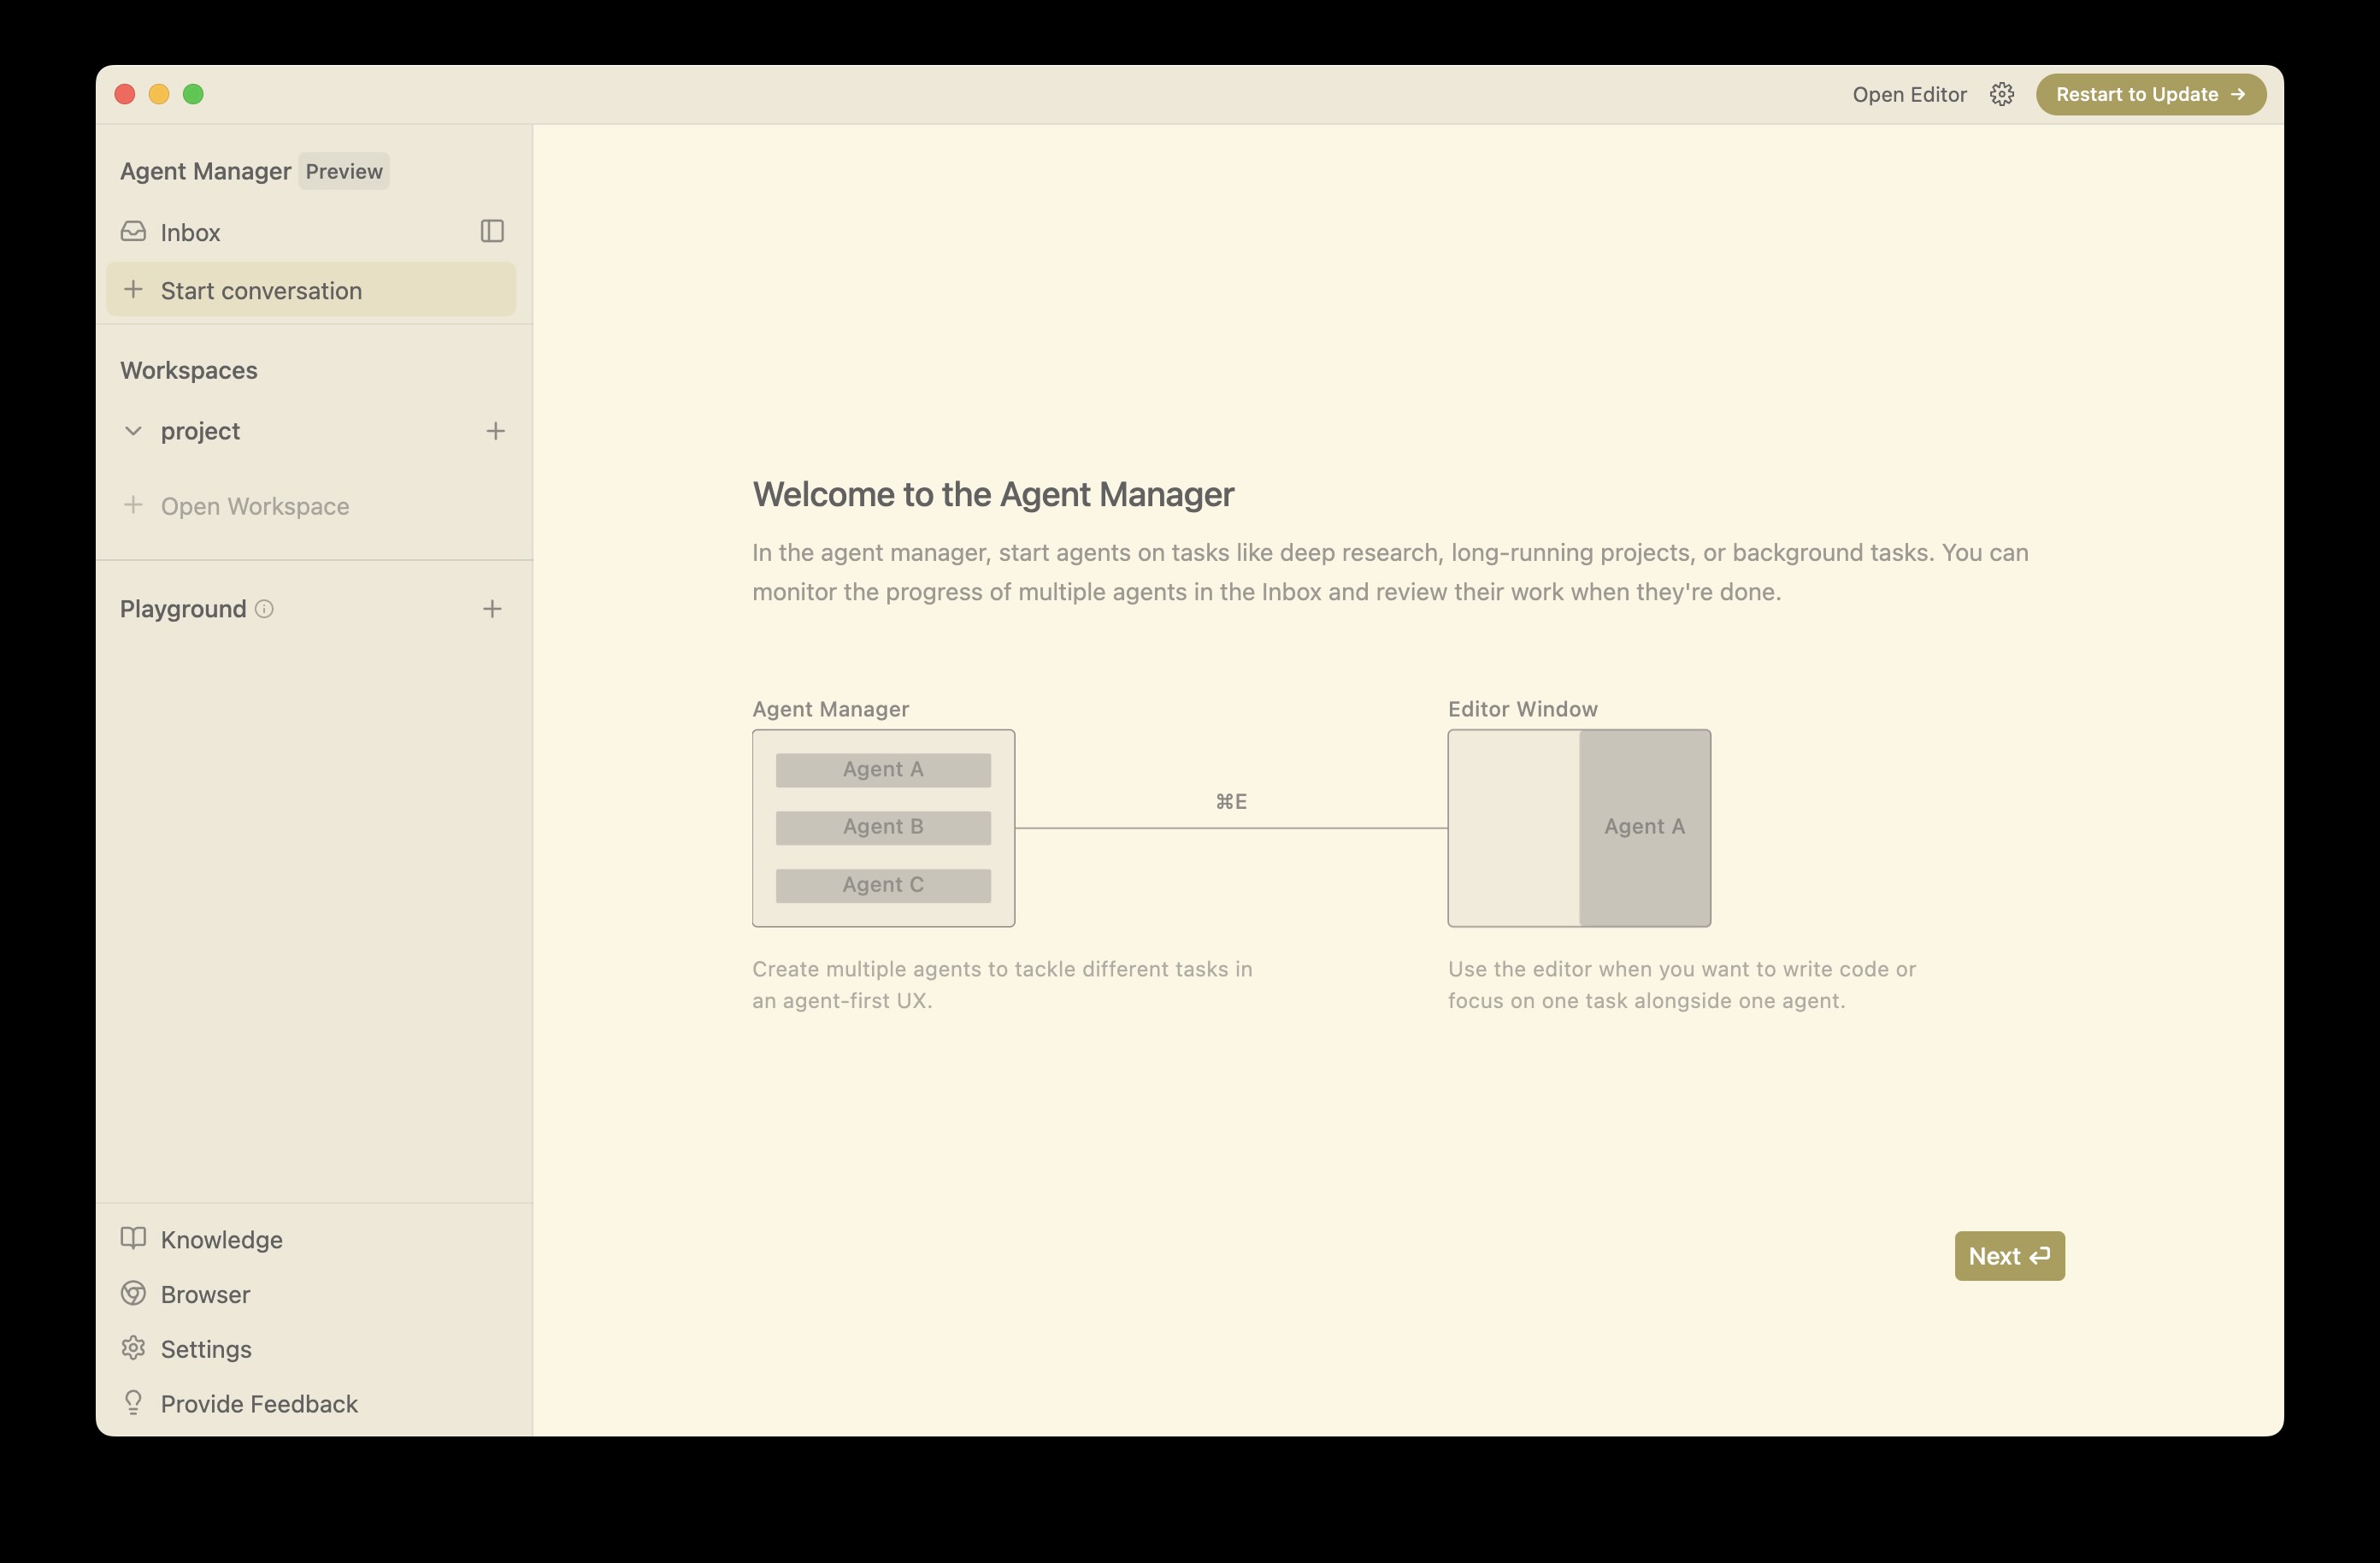
1. The Agent Manager
It is a dedicated interface for managing multiple AI Agents. You can have separate agents working simultaneously, one agent building the frontend, another handling backend logic, and a third fixing bugs, etc.
When an Agent needs a decision, it sends a message to your “Inbox”. You act as the Project Manager: review the requests or questions from your junior developers, approve them, and the work continues.
2. The Browser Agent
Antigravity comes with a built-in browser that the AI can fully control to test your work. AI clicks buttons, fills out forms, and tests complex interactions. Once it’s done, it even provides screen recordings for review.

3. The Artifacts
As the AI writes code, it generates documentation “Artifacts”, including implementation plans, task lists, or Specs. You can interact with these just like Google Docs. You can highlight sections of the AI’s proposal and leave comments. The AI iterates instantly based on that specific feedback.
Who is this for #
Antigravity is for you if:
- You want to experience a System 2 engineering workflow.
- You need to drive multiple coding tasks and hate waiting for linear generation.
- You need frequent frontend interaction testing.
Think of it as the “Pro” version of Google AI Studio. While AI Studio is a sandbox for quick prototyping, Antigravity is for production, connecting to local environments, running local builds, and integrating with external services. You can validate the idea in AI Studio, then pull the codebase into Antigravity for serious development.
Setup #
Download: https://antigravity.google/download
Official Website: http://antigravity.google
Documentation: http://antigravity.google/docs
Tutorial: https://codelabs.developers.google.com/getting-started-google-antigravity
Step 1: Choose Setup Flow
Choosing “Start fresh” is often better for a new tool. It prevents legacy settings from conflicting with Antigravity’s unique AI features. You can always customize specific settings later.

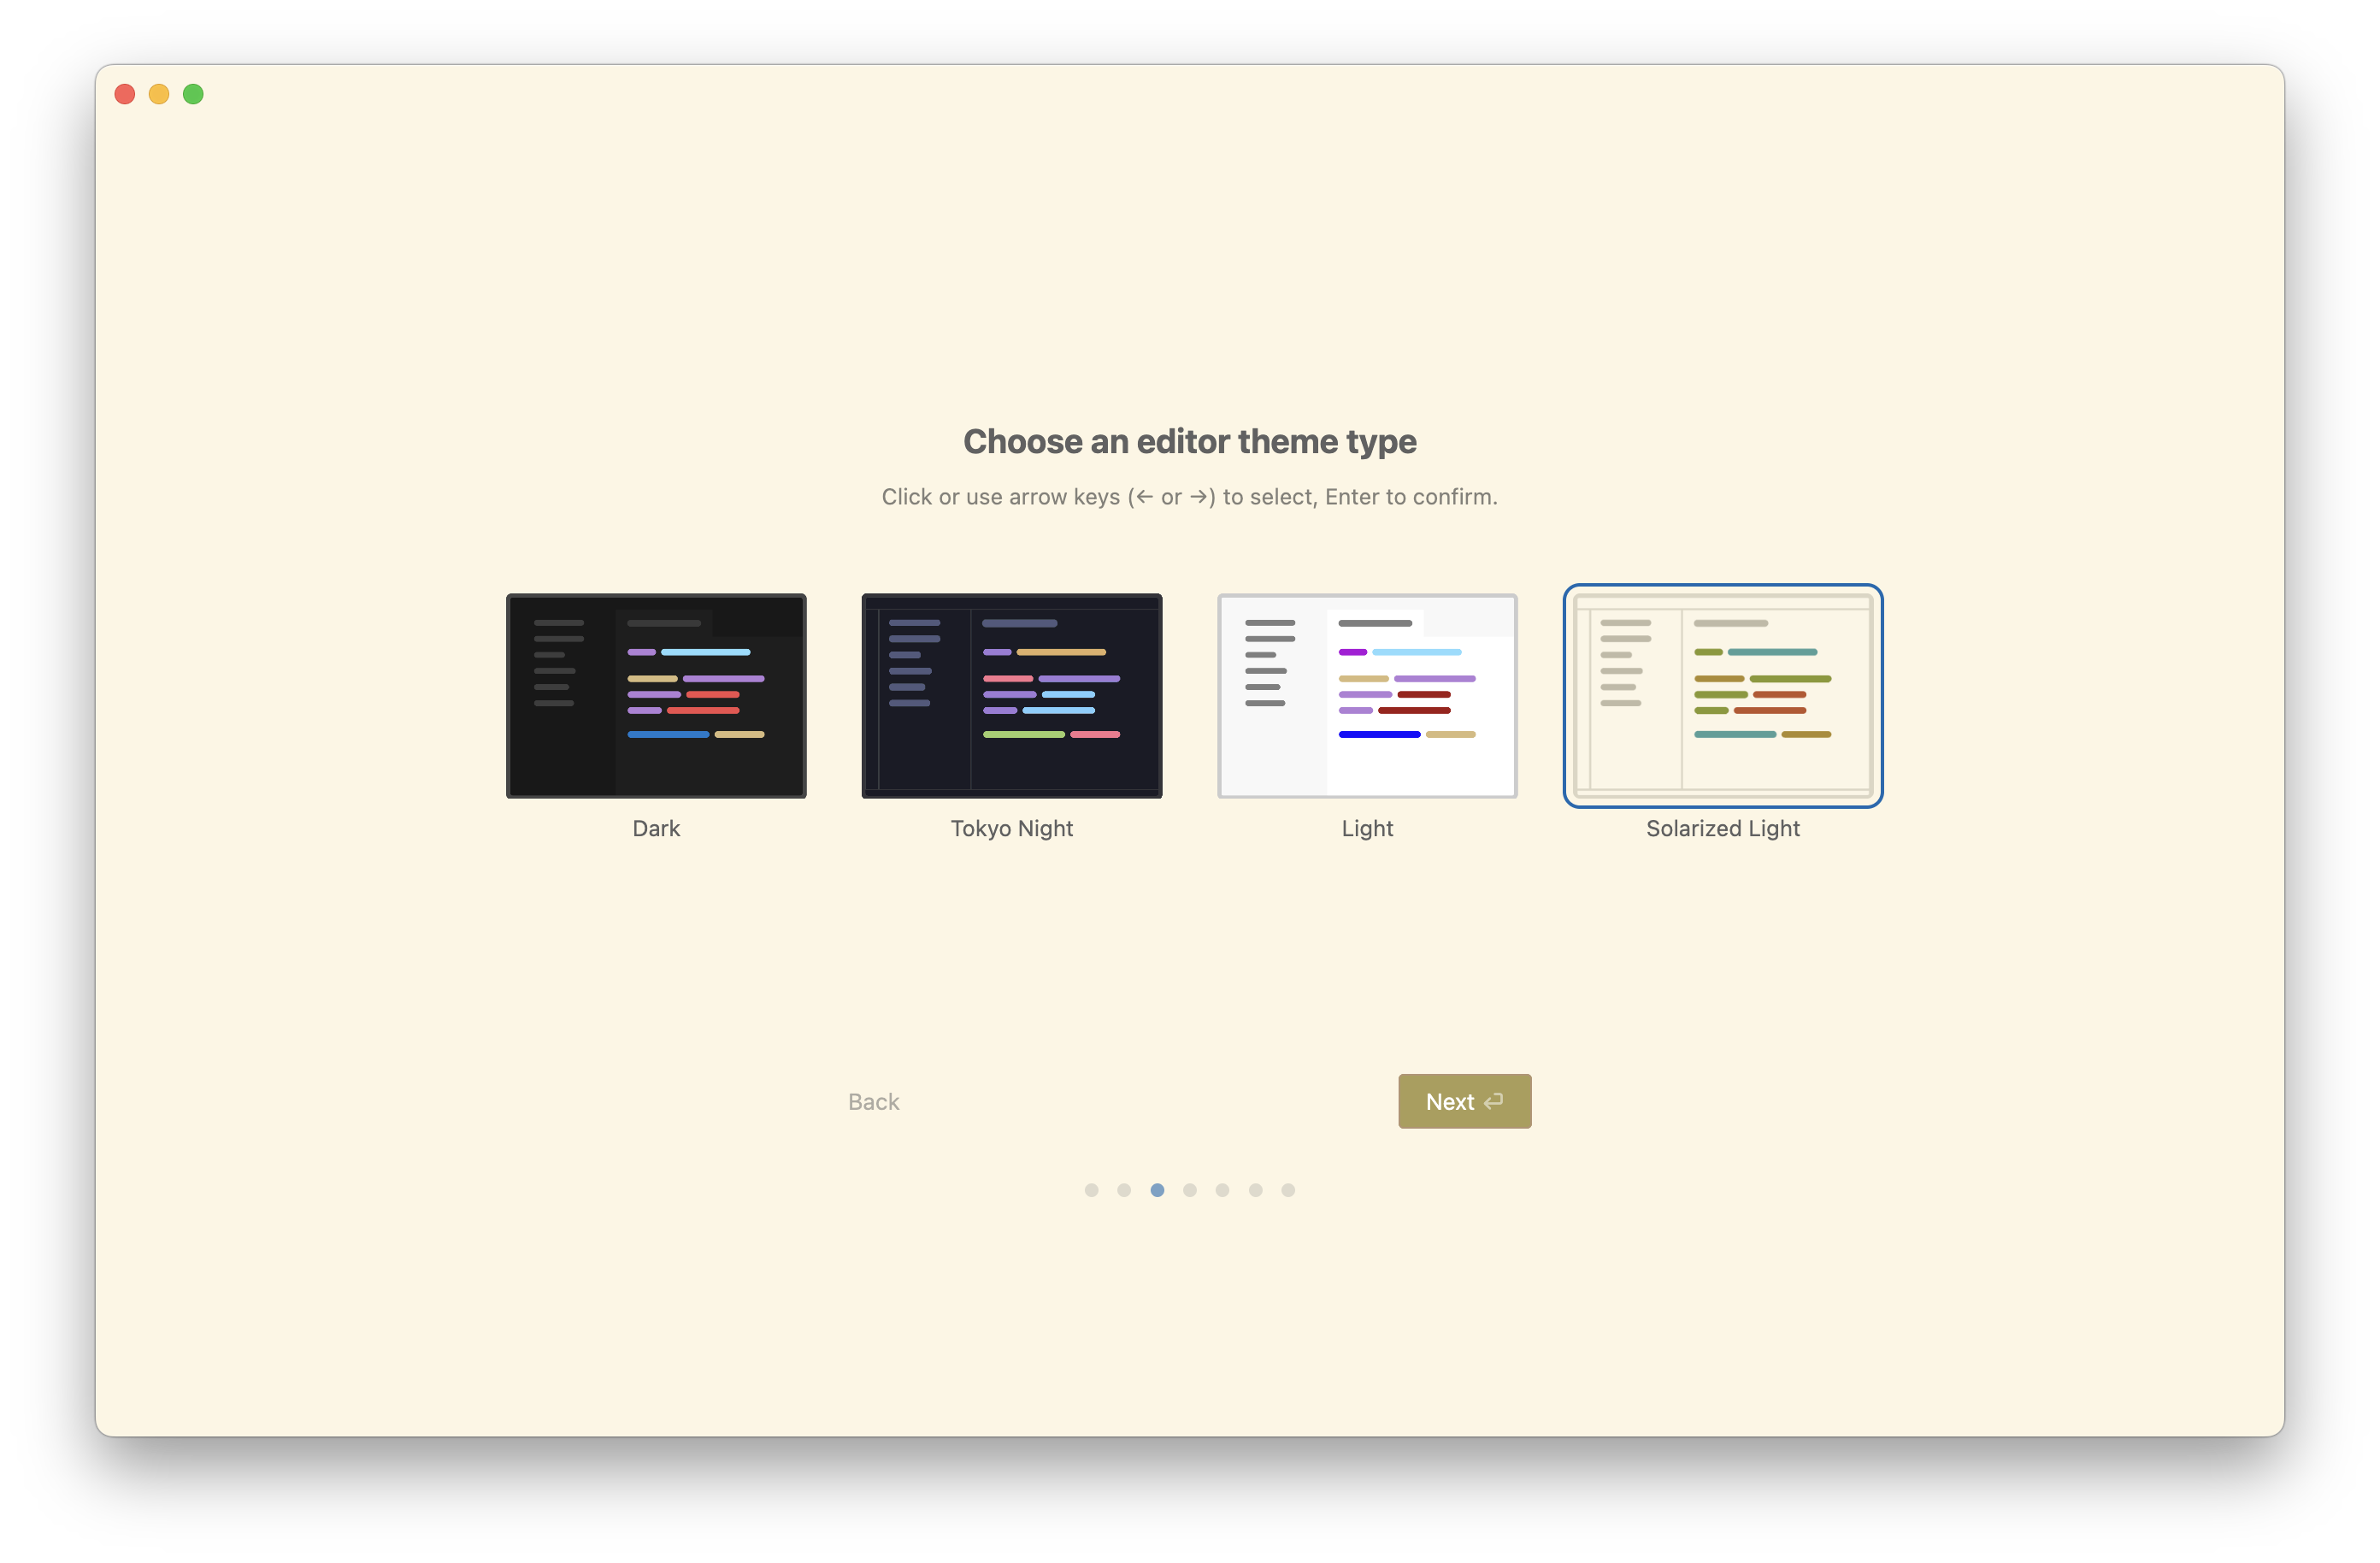
Step 2: Visual Theme
You can choose what you like. “Solarized Light” is the signature look for Antigravity, offering a clean, paper-like feel. However, if you code late at night, “Dark” or “Tokyo Night” might be easier on your eyes.
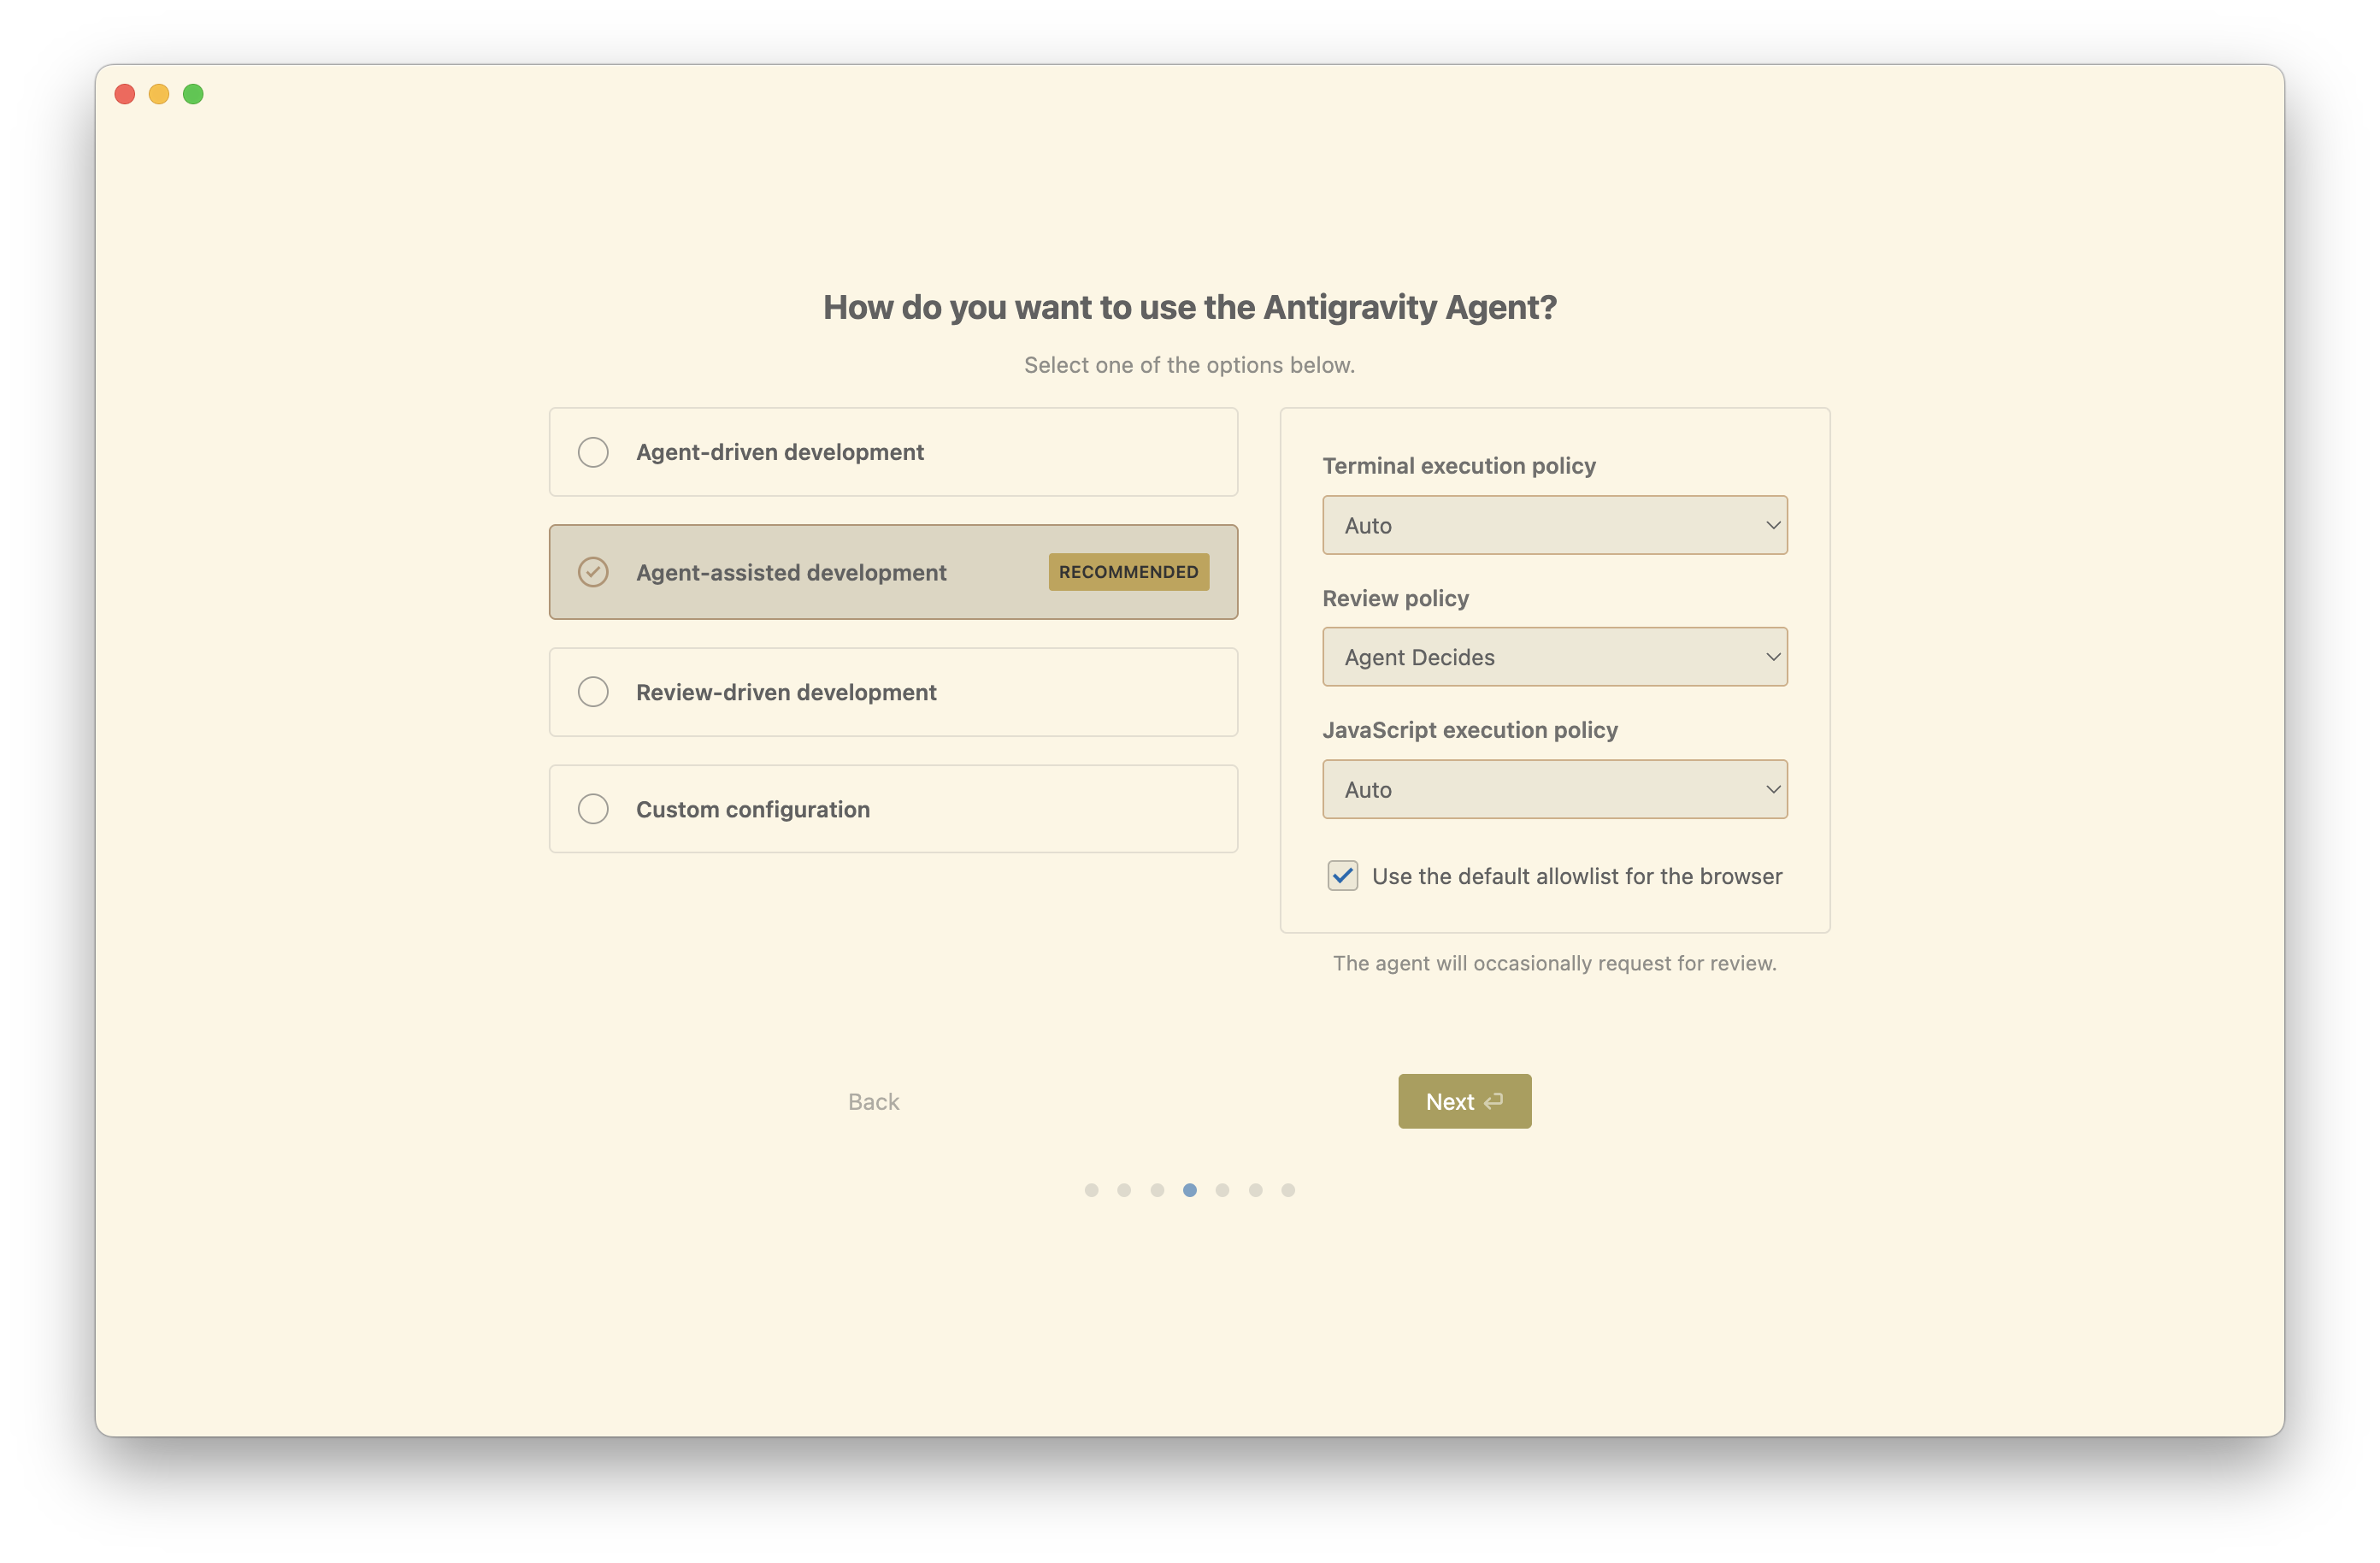
Step 3: Agent Policy (The Most Important Step)
This section defines the level of autonomy you grant to the AI. You are presented with four distinct options:
- Agent-driven development: The AI works fully automatically and rarely asks you.
- Agent-assisted development (RECOMMENDED): The AI decides when to consult you.
- Review-driven development: You must approve every single step. This is the safest method, but also the slowest.
- Custom configuration: You can manually adjust specific parameters.
This recommended configuration “Agent-assisted development” offers the best balance between automation and control. It sets the Terminal execution policy to “Auto”, allowing the AI to handle routine tasks (like creating files) without bothering you. Meanwhile, the Review policy is set to “Agent Decides”, which ensures the AI asks for permission before attempting anything risky or complex.
If you prefer a stricter safety net, you can also switch the Review policy to “Request Review”, the AI will ask for your permission before performing any action.
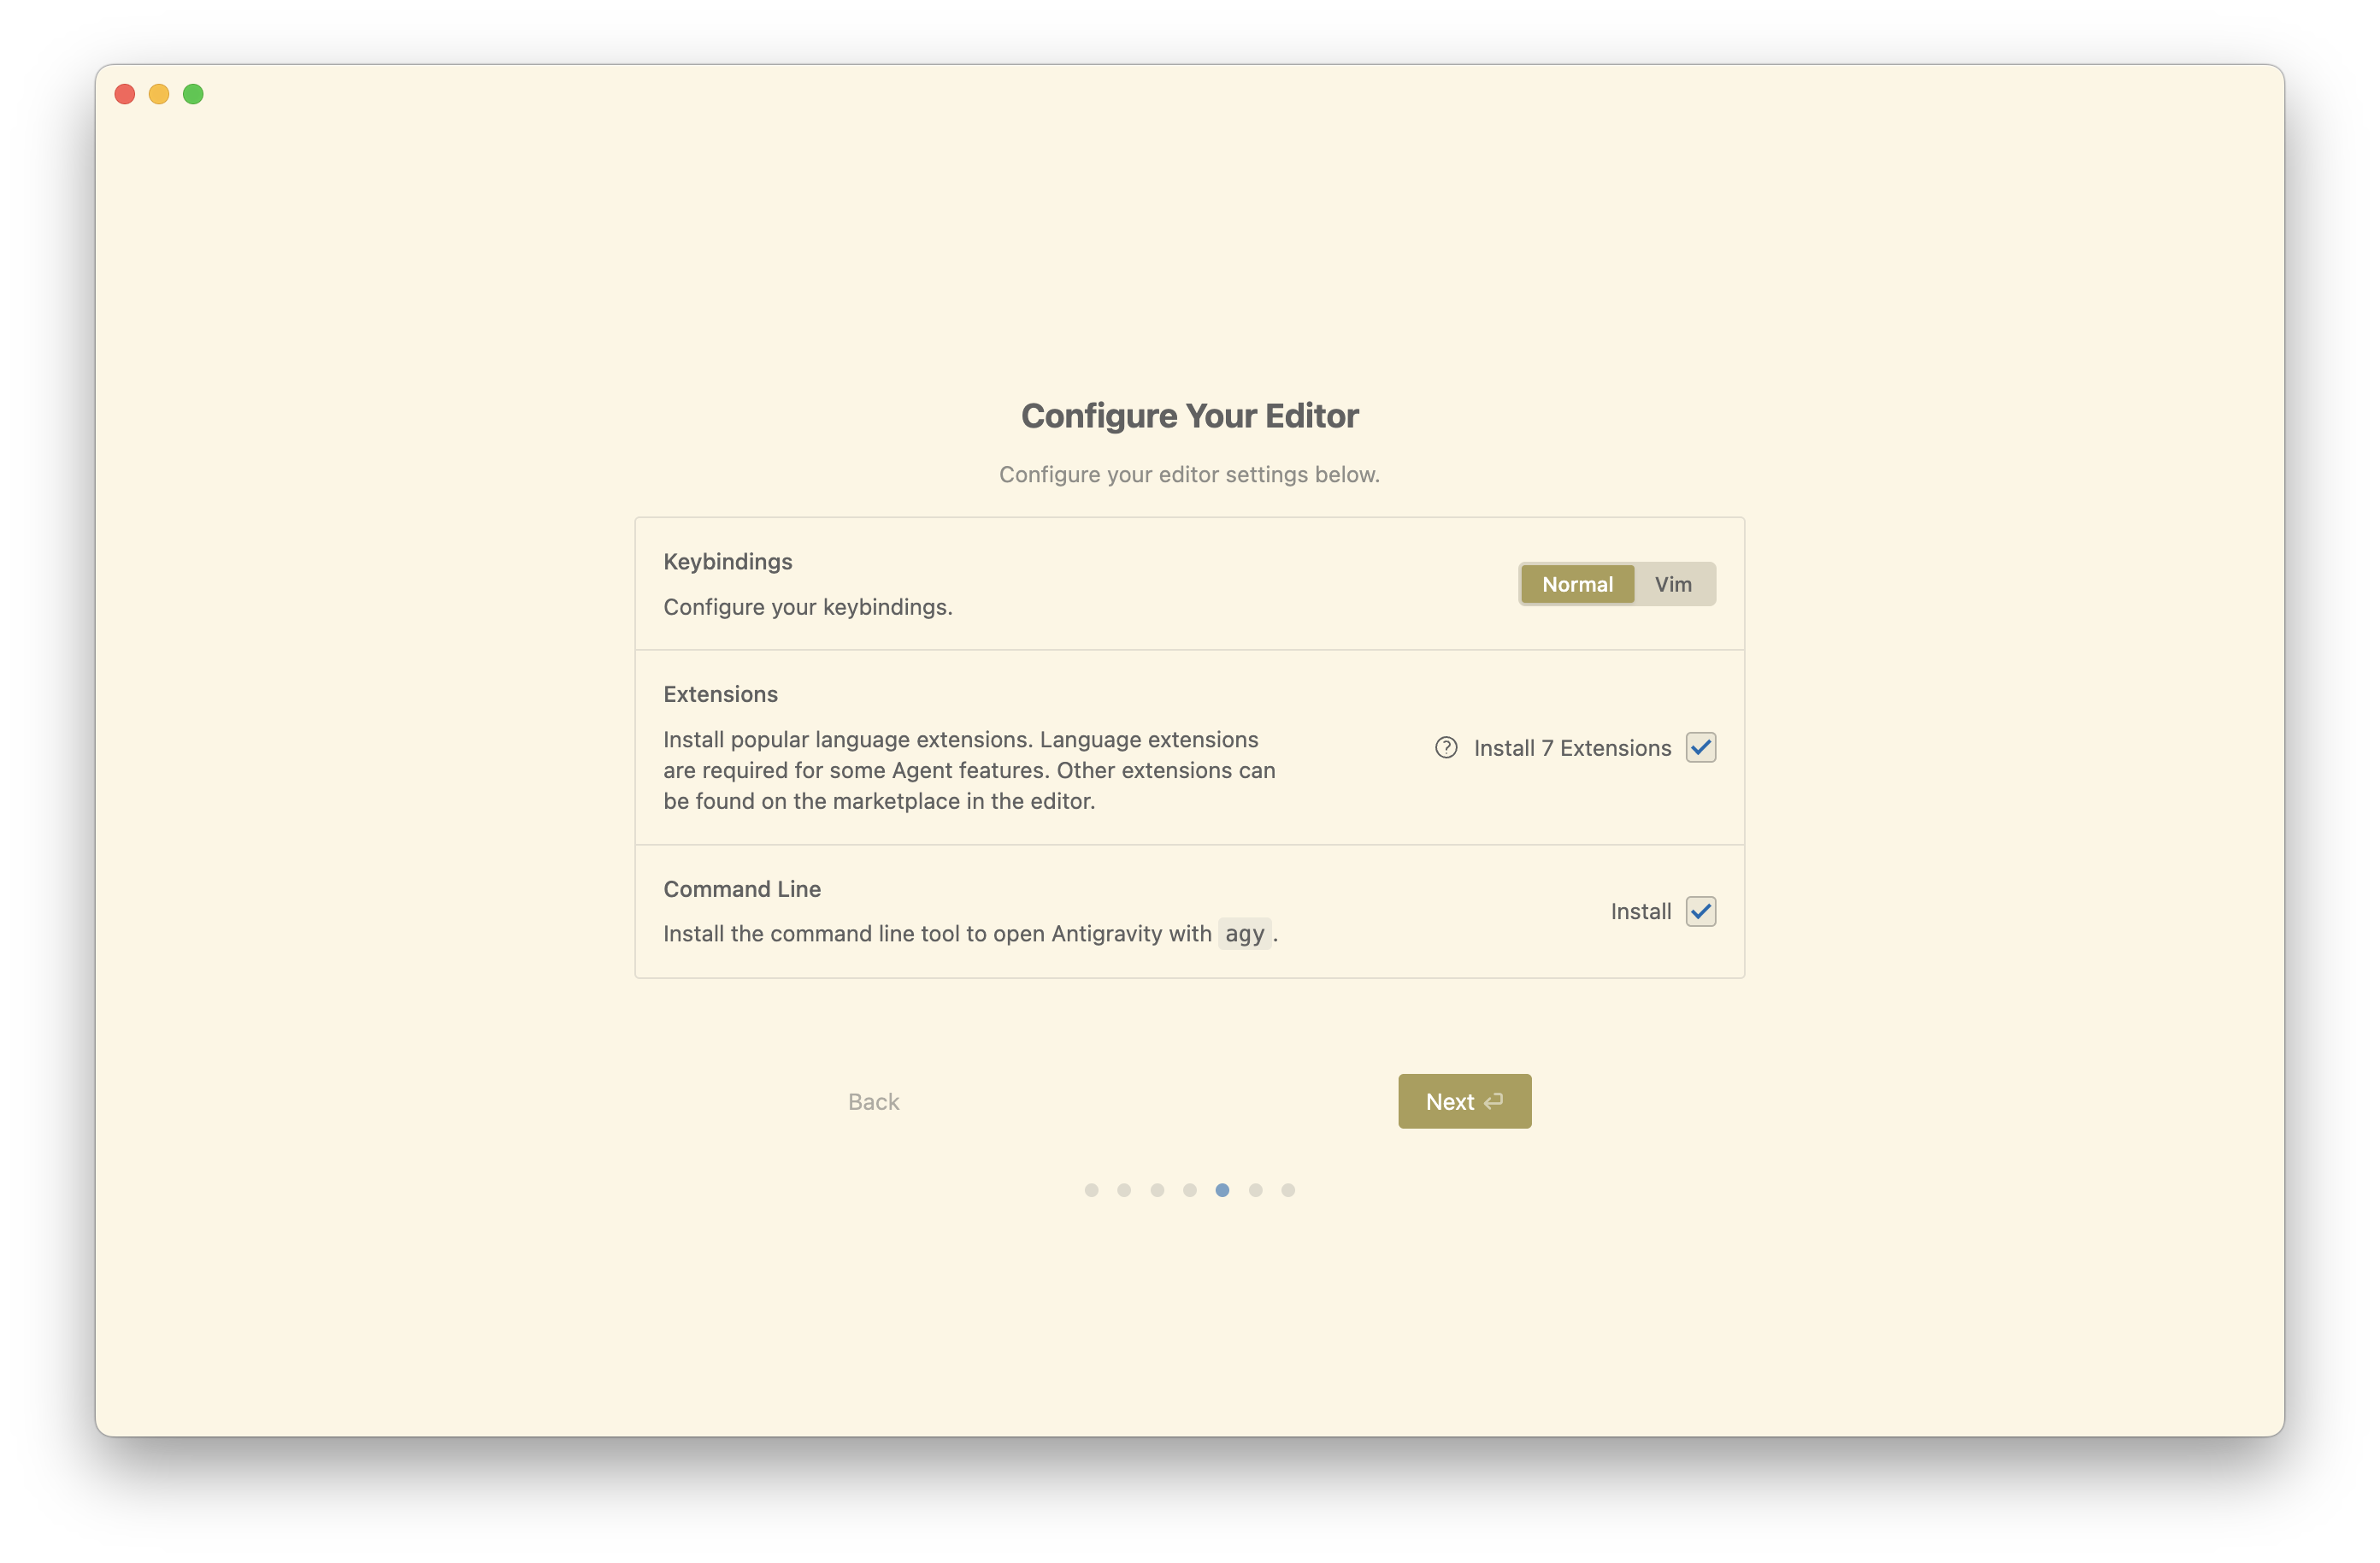
Step 4: Configure Your Editor
- Keybindings: Choose “Normal”. Unless you are a Vim expert, “Normal” ensures standard shortcuts (Copy/Paste) work as expected.
- Extensions: Check “Install 7 Extensions”. As noted on the screen, language extensions are required for Agent features. The AI needs these to understand your code structure.
- Command Line: Check “Install”. This installs the
agytool, allowing you to open the editor directly from your terminal.
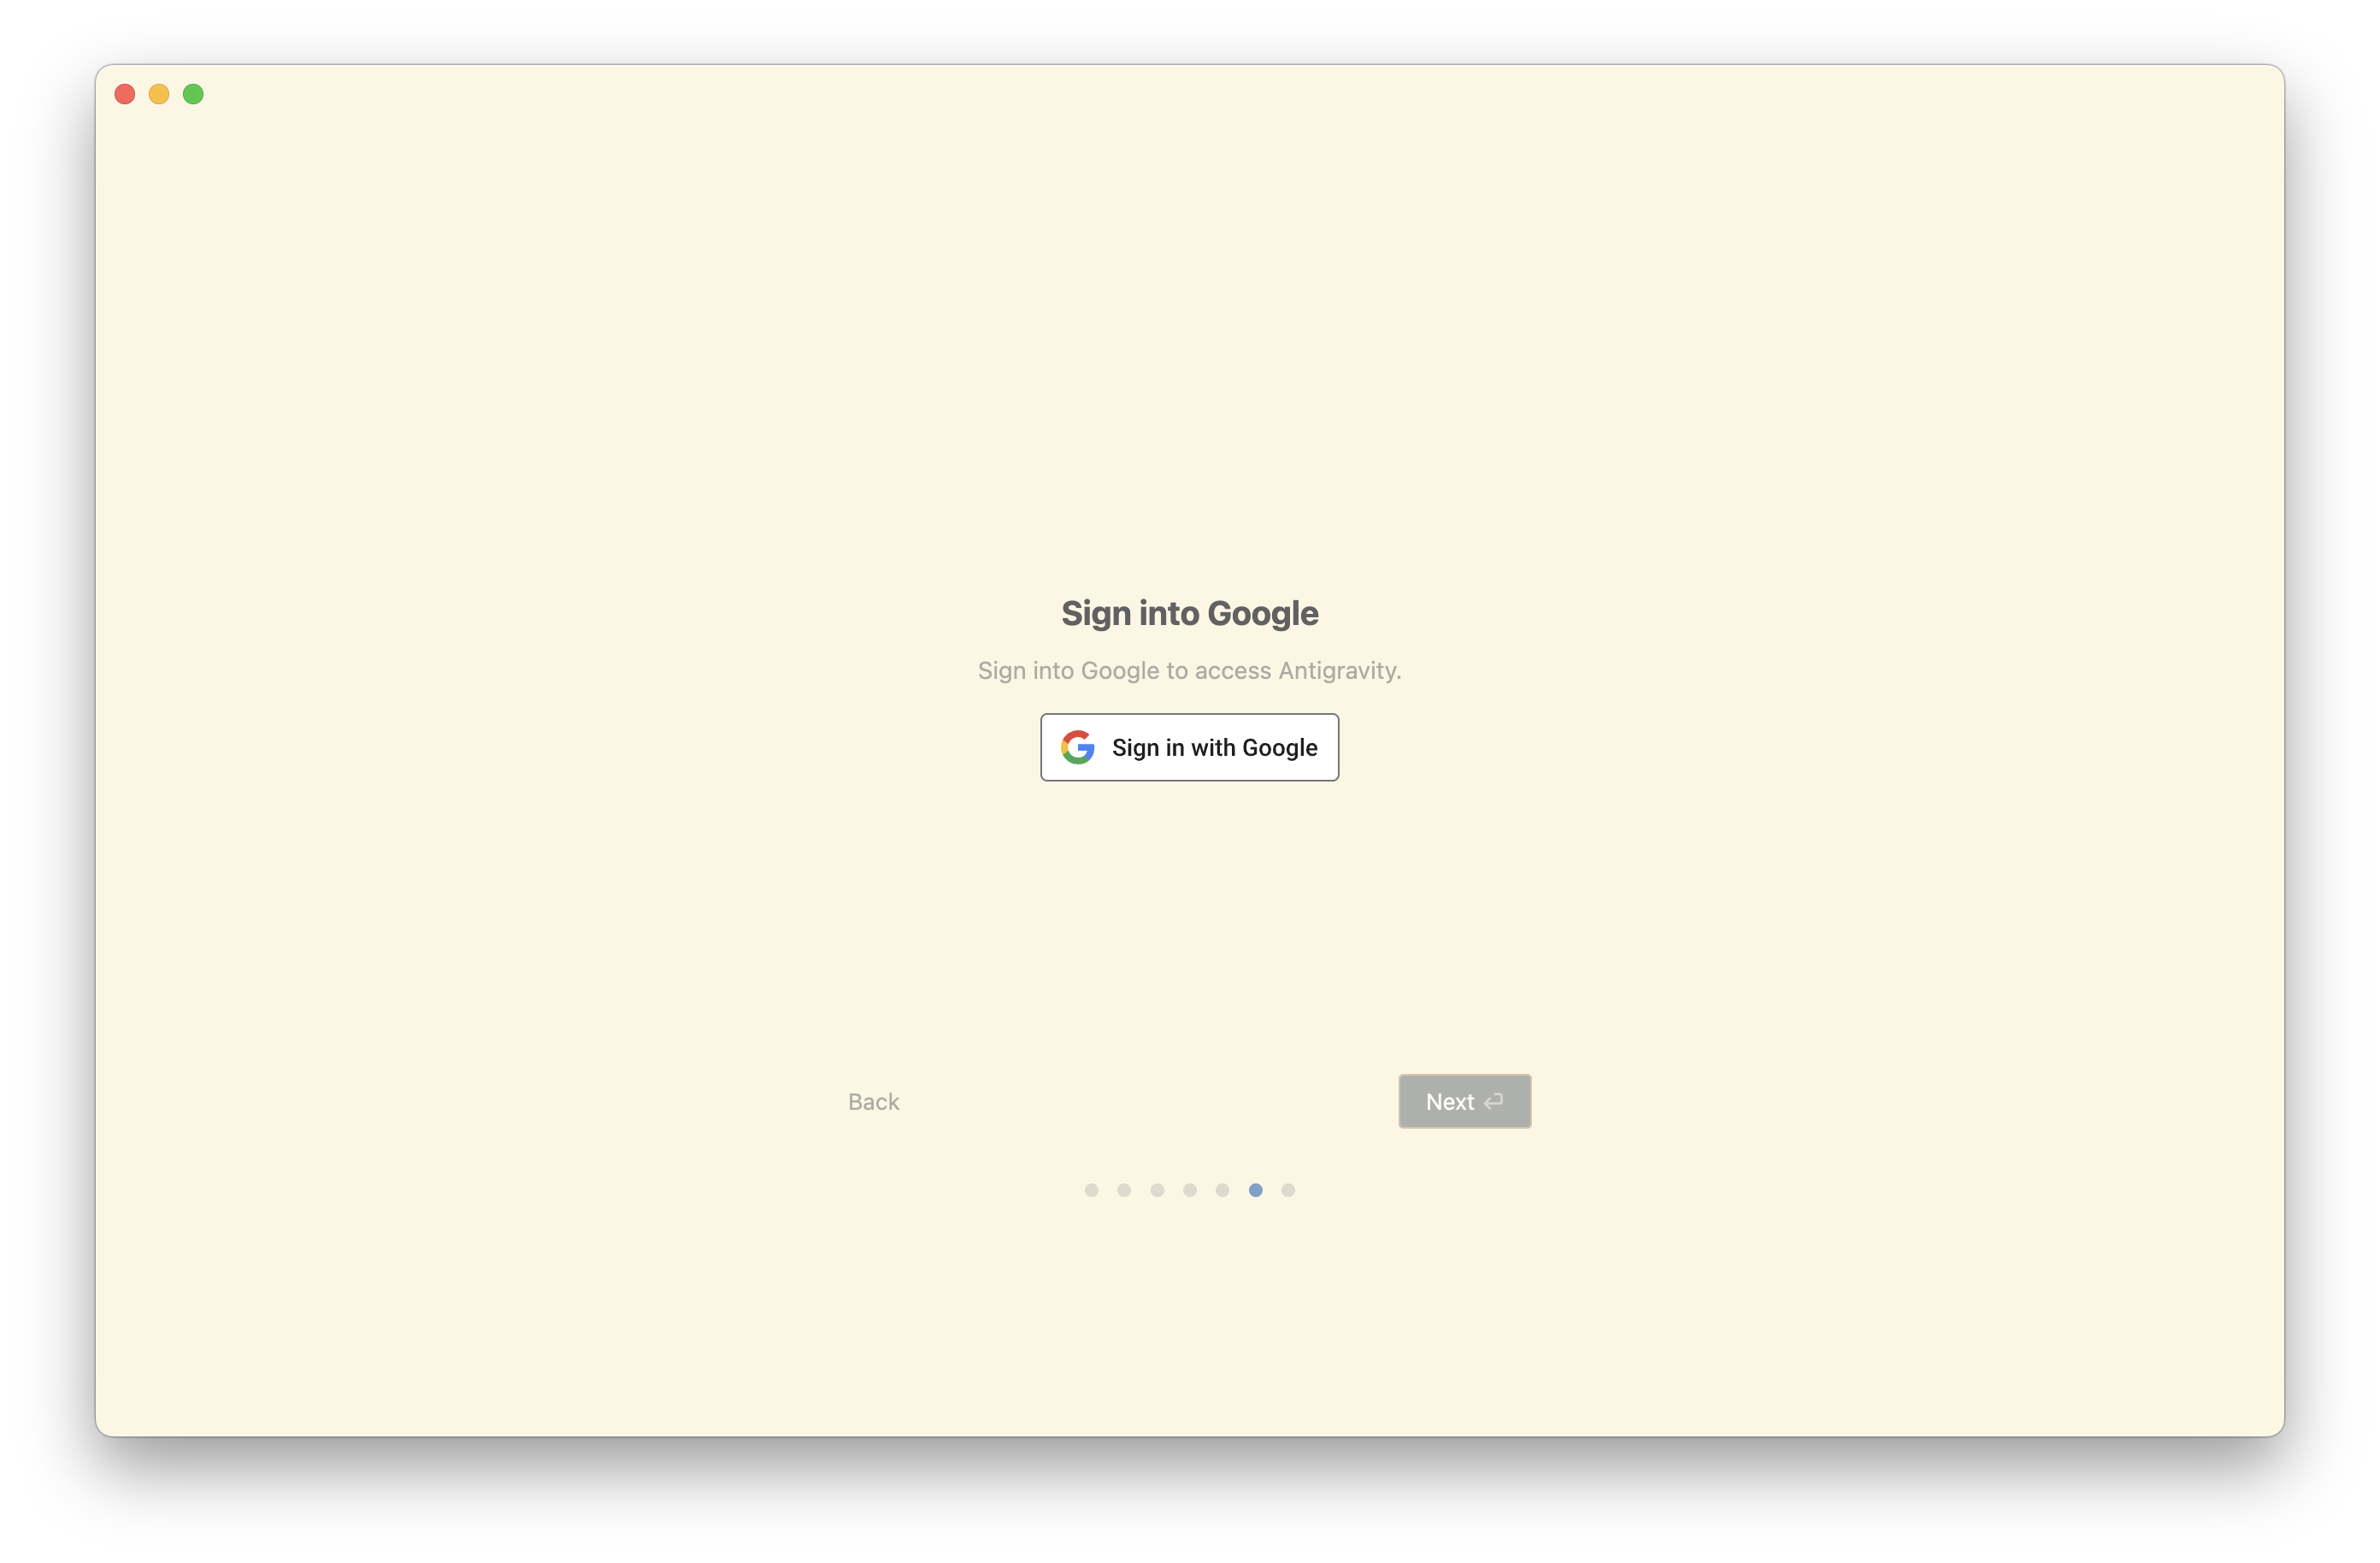
Step 5: Authentication
Since Antigravity is a cloud-native, AI-first IDE, it requires your Google account to sync settings and access the underlying LLM models.
The Workflow #
Start by describing what you want in the Agent Manager Playground. The AI will generate an Implementation Plan, detailing the tech stack, a step-by-step breakdown, and specific actions. This plan acts as an interactive Artifact that you can annotate directly.
If you want to add a feature, simply add a comment to the Artifact. The AI will immediately update the plan, often placing these new items into a “Future Roadmap” section.
Once you are satisfied with the plan, click “Proceed” to let the AI get to work. You can enable “Follow Mode” to watch it execute terminal commands, create files, and write code.
After the coding is done, ask the AI to verify the functionality. It will launch the Browser Agent. You’ll see a blue border indicating the AI is in control, and the cursor will move automatically to perform tests. Once finished, it provides a screen recording summarizing the process and results.
Your main role throughout this entire process is simply reviewing the plan and approving the execution.
Things to Watch Out For #
-
Model Management:
Gemini 3 Pro has quota limits. Antigravity supports model switching, so you can swap to Claude Sonnet 4.5 to keep working. My recommendation is to use Gemini for planning and coding, but switch to Claude for debugging, as it seems to be slightly stronger at fixing bugs. -
Parallel Tasking:
Be careful when running tasks in parallel. While you can have multiple Agents working at once, conflicts will occur if two Agents try to edit the same file simultaneously. If you want to run parallel tasks, assign them to completely independent modules. For example, let one Agent handle frontend components while another builds backend APIs, ensure they don’t step on each other’s toes.
Final Thoughts #
The evolution of AI coding tools this year has moved really fast. Just last year, we were all asking, “Is AI-generated code actually usable?” Now, we’re already figuring out “How do I manage a team of AIs working in parallel?”
It feels like AI is going from just a tool to a real collaborator.
The relationship used to be simple Q&A: “I ask, you answer.” But now, it’s turning into a management role: “I set the direction, and you guys handle the execution.”
So, what does this actually mean for us?
It means that knowing how to write raw code is becoming less of a big deal. Instead, the real skills that matter now are:
- Project planning
- Task Structuring
- Quality control
In the future, the superpower won’t be “I can build this feature from scratch”, It’s going to be: “Can I clearly describe exactly what I want, and do I have the judgment to know if the AI got it right?”
Cover image: This composite image of the Cassiopeia A (or Cas A) supernova remnant, released Jan. 8, 2024, contains X-rays from Chandra (blue), infrared data from Webb (red, green, blue), and optical data from Hubble (red and white). From NASA