
Having a custom domain email is a great way to look professional. It can be easily set up using Cloudflare and Gmail. To get started, both a Cloudflare and a Gmail account are required.
Configure DNS Records #
Before starting, please ensure the domain intended for email use has been added to Cloudflare. For domain registered directly through Cloudflare, DNS is automatically managed by Cloudflare, and this step can be skipped.
If not, the domain must be done manually. From the Cloudflare dashboard, In the top-right corner, click add - connect a domain, enter your own domain then continue.
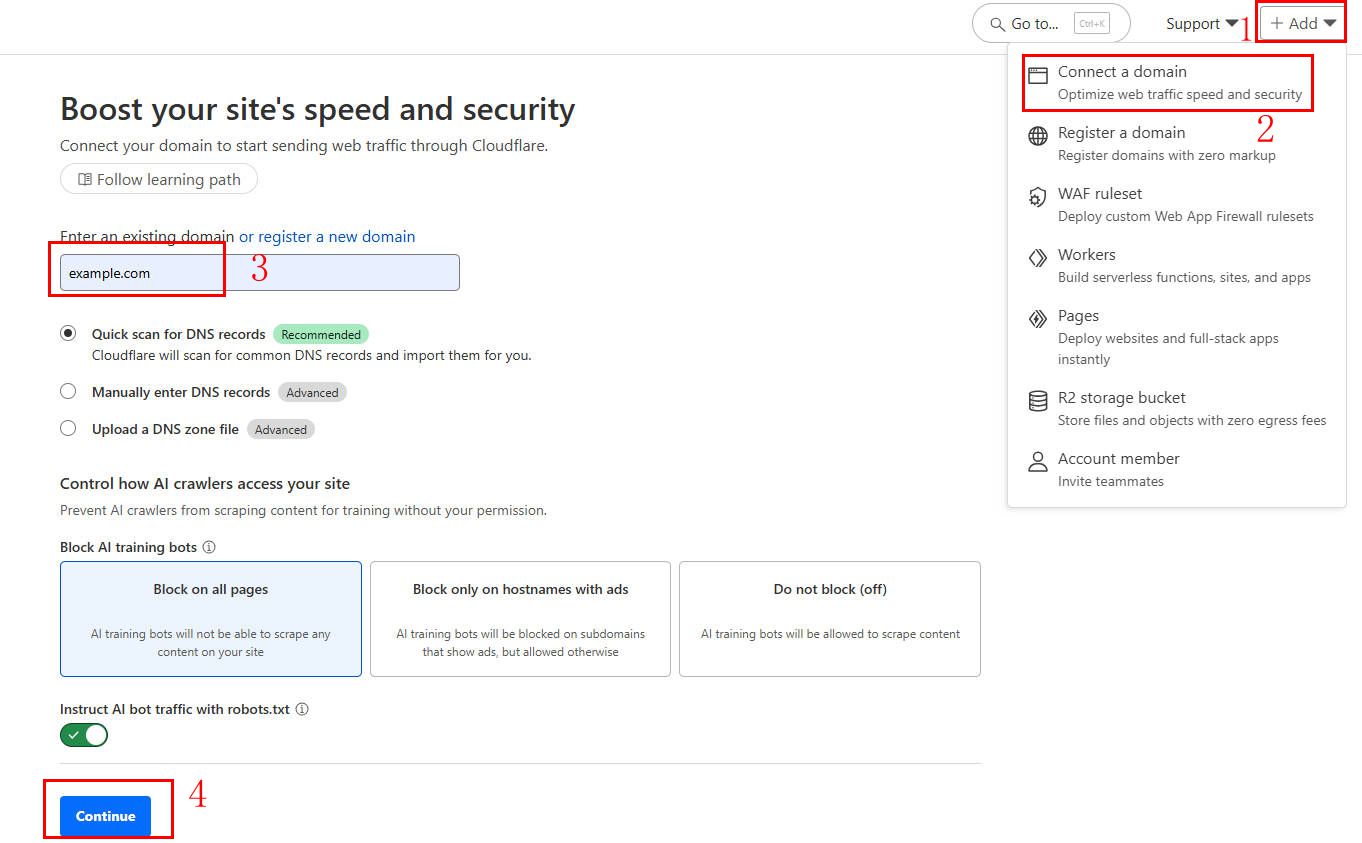
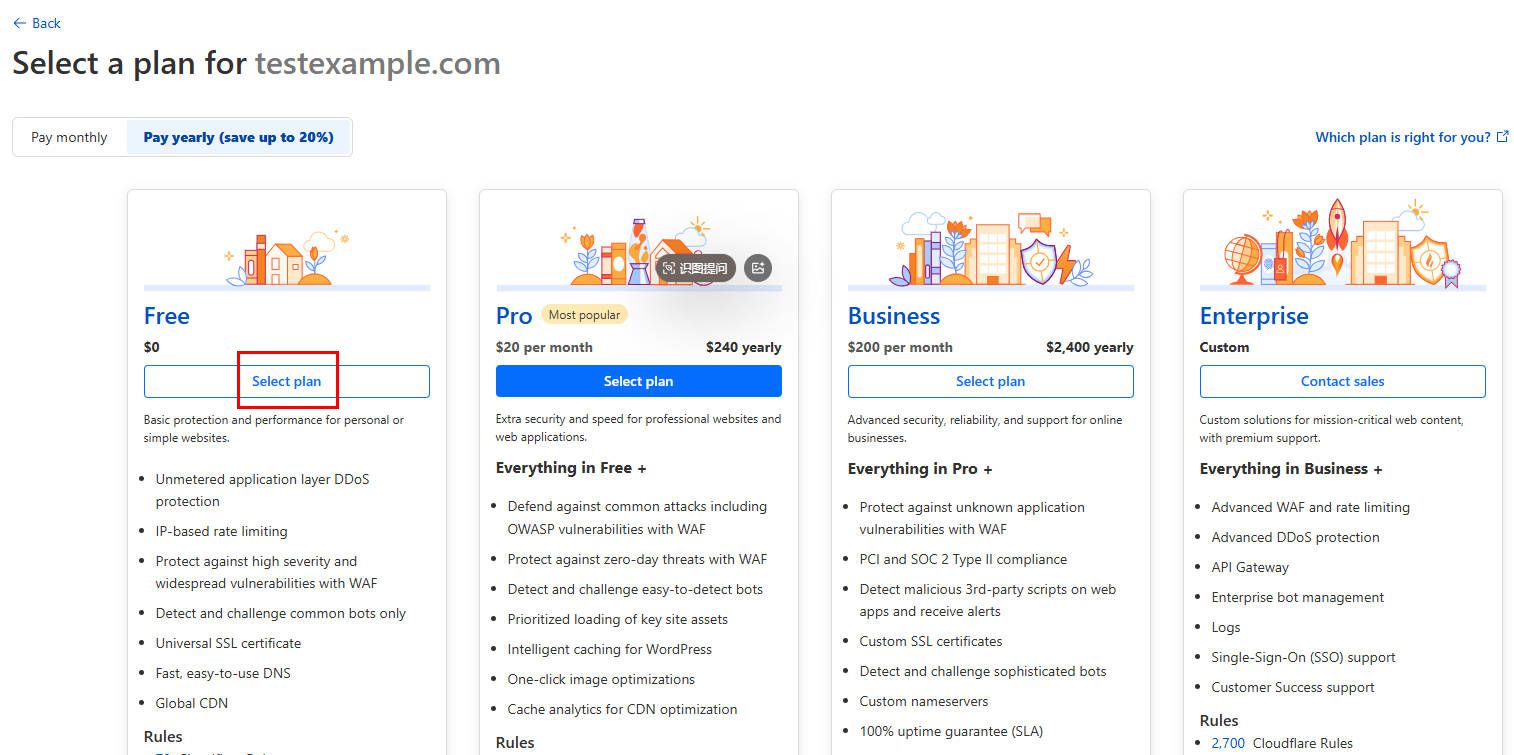
For personal use, choose the free plan.
Review the DNS records. The default settings can be accepted by click continue to activation. Then instruction page “Last step: Update your nameservers to activate Cloudflare” will be displayed. Follow the instructions to replace nameservers.
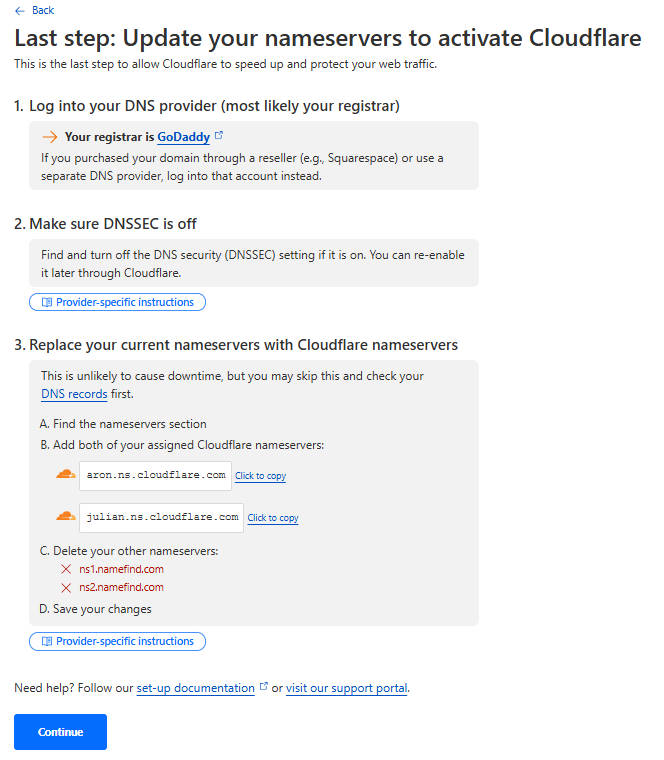
Domain registrars can take up to 24 hours to process nameserver changes. Once the domain is active on Cloudflare, it is possible to proceed to the next step.
Cloudflare Email routing #
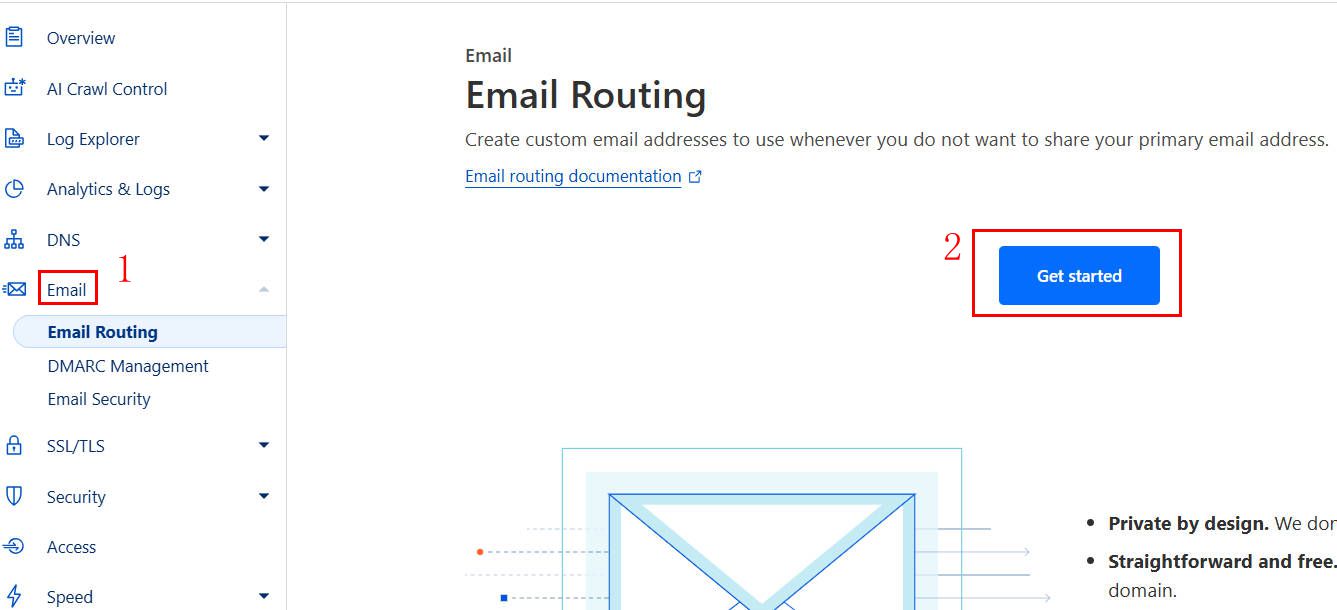
First, navigate to Email Routing section. In the Cloudflare dashboard for the selected domain, go to Email - get start:
In the custom address field, enter the Email prefix you prefer, and your Gmail address in the Destination field.
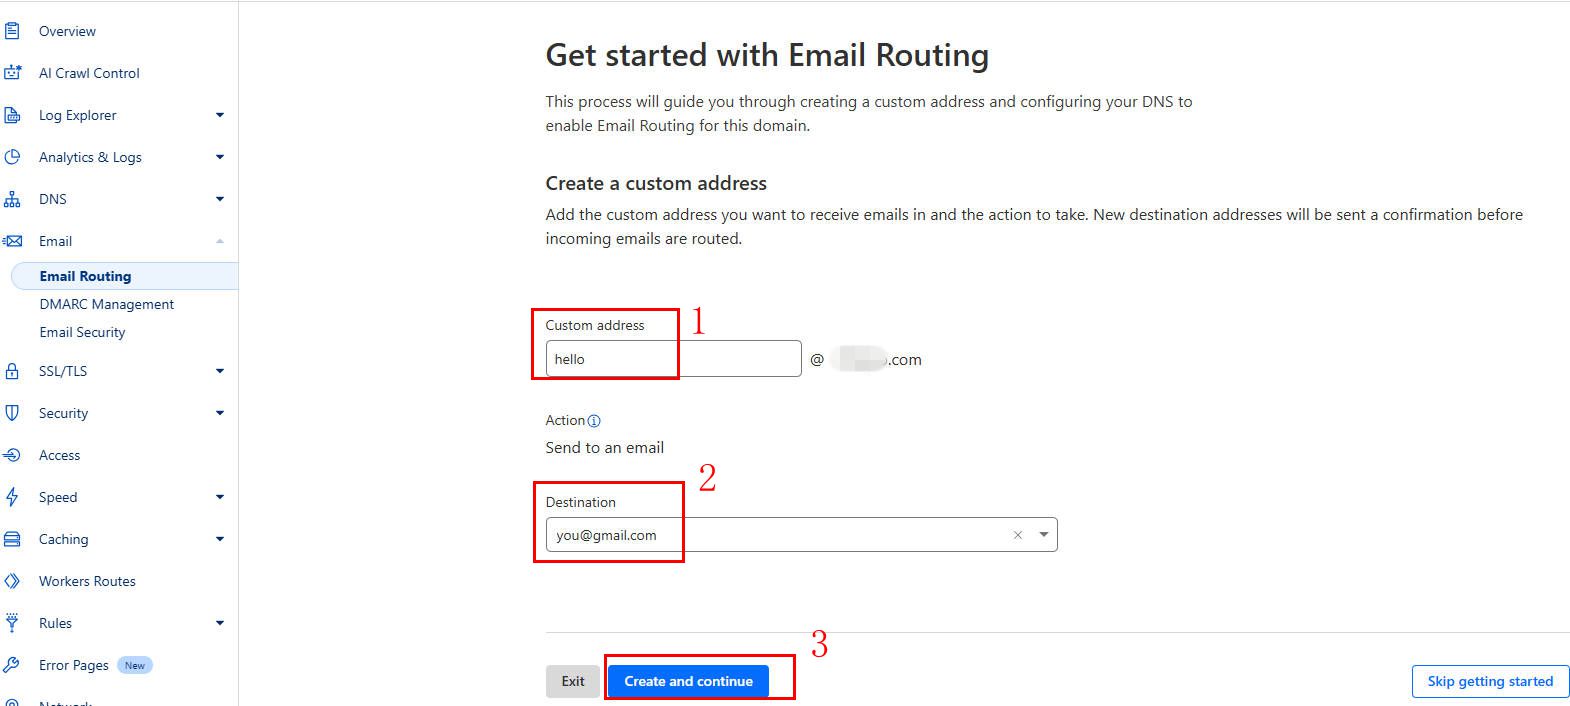
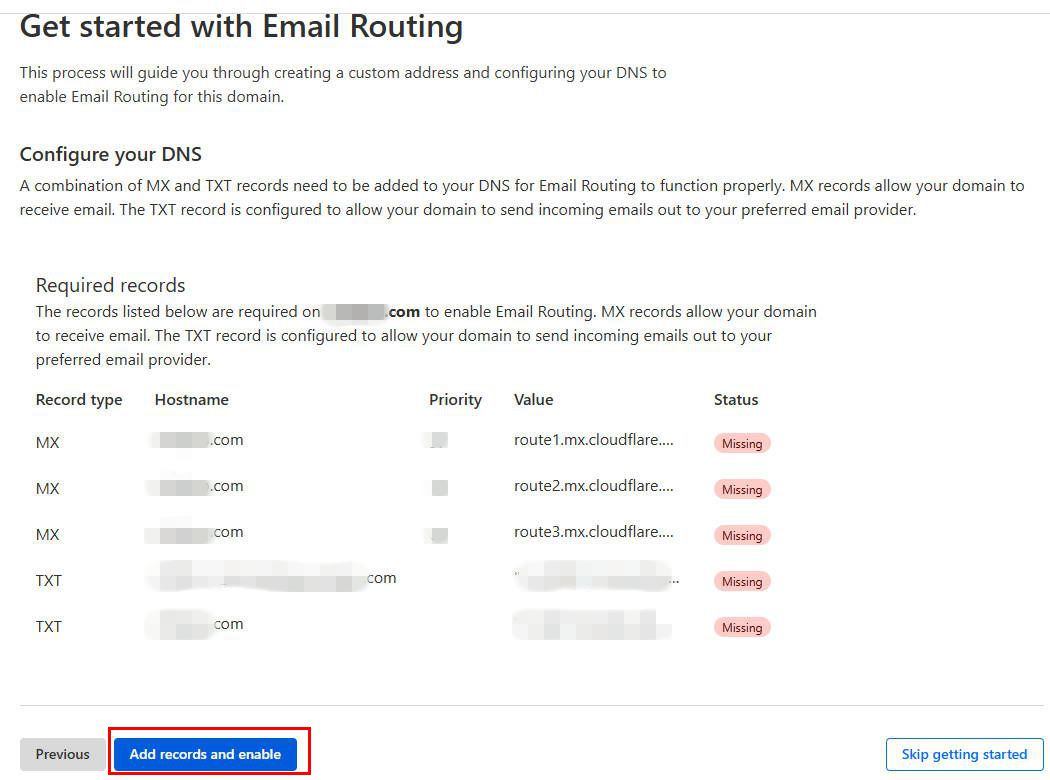
A confirmation email will be sent to the destination address for verification. After verifed, click add record and enable.
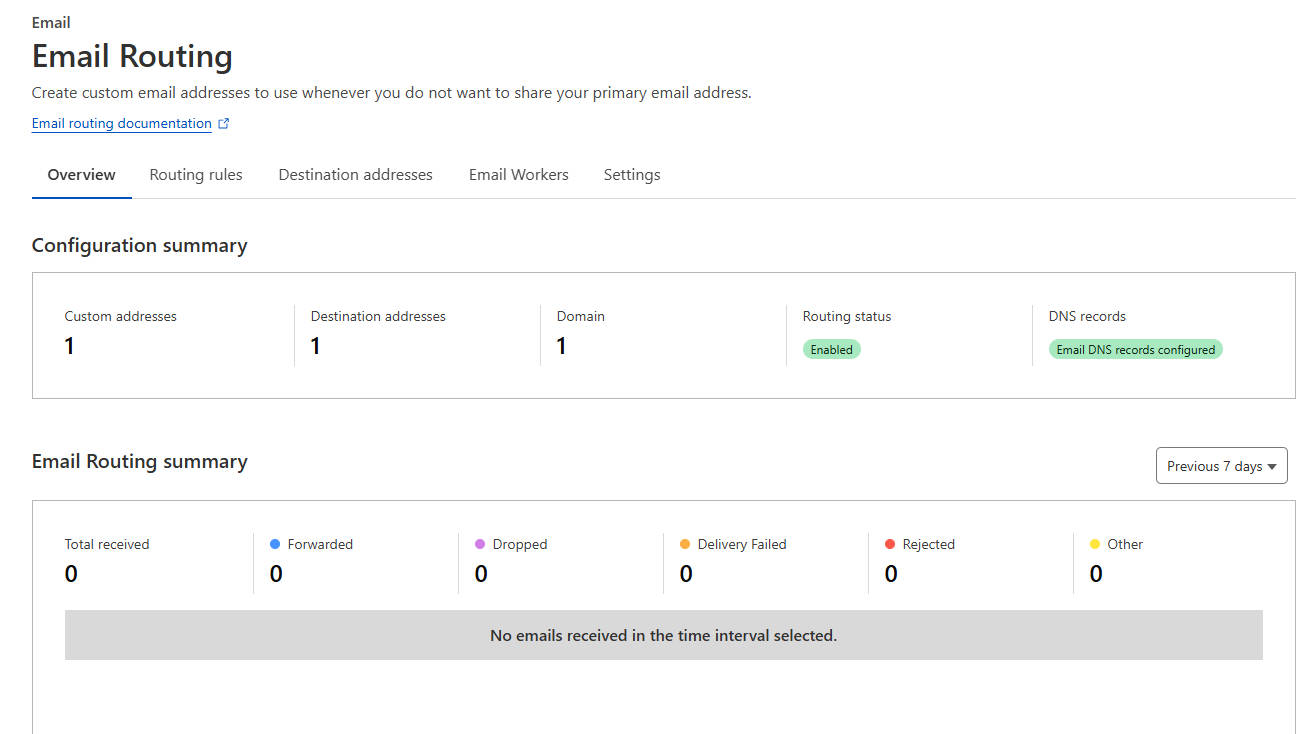
Once the Configuration summary is displayed, Emails sent to the custom domain address will now be received by Cloudflare and forwarded to Gmail.
Gmail configuration #
For many use cases, simply receiving emails at a custom domain address is sufficient. However, Gmail services can be configured to send emails from your custom domain.
Important Note: Sending emails from a custom domain via Gmail’s SMTP servers increases the risk of those emails being marked as spam.
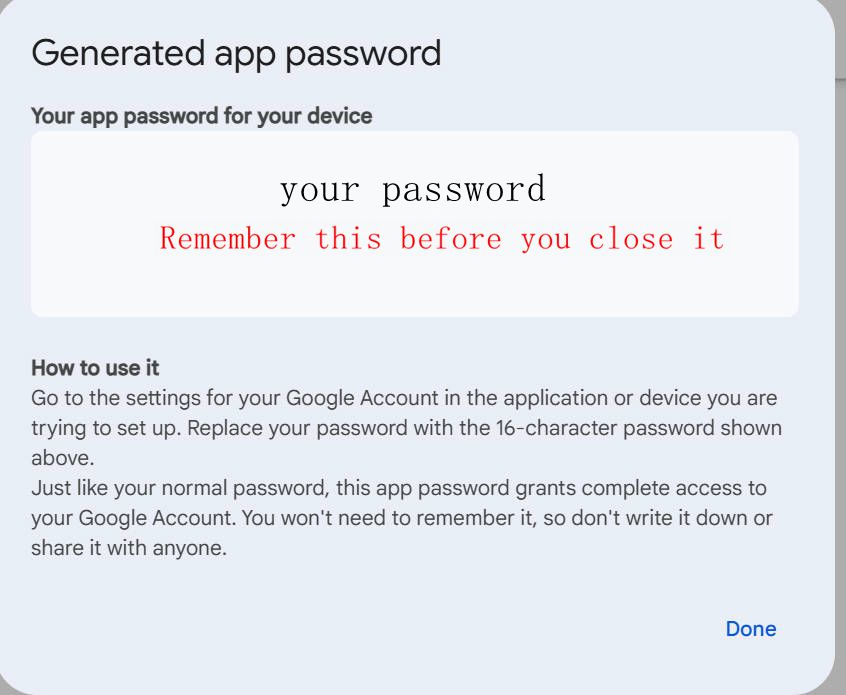
Login your Google account and navigate to: https://myaccount.google.com/apppasswords. An App Password provides access to the account from external applications. Enter a descriptive custom label (e.g., “Custom Domain Email”) to generate a specific password for your domain email service.
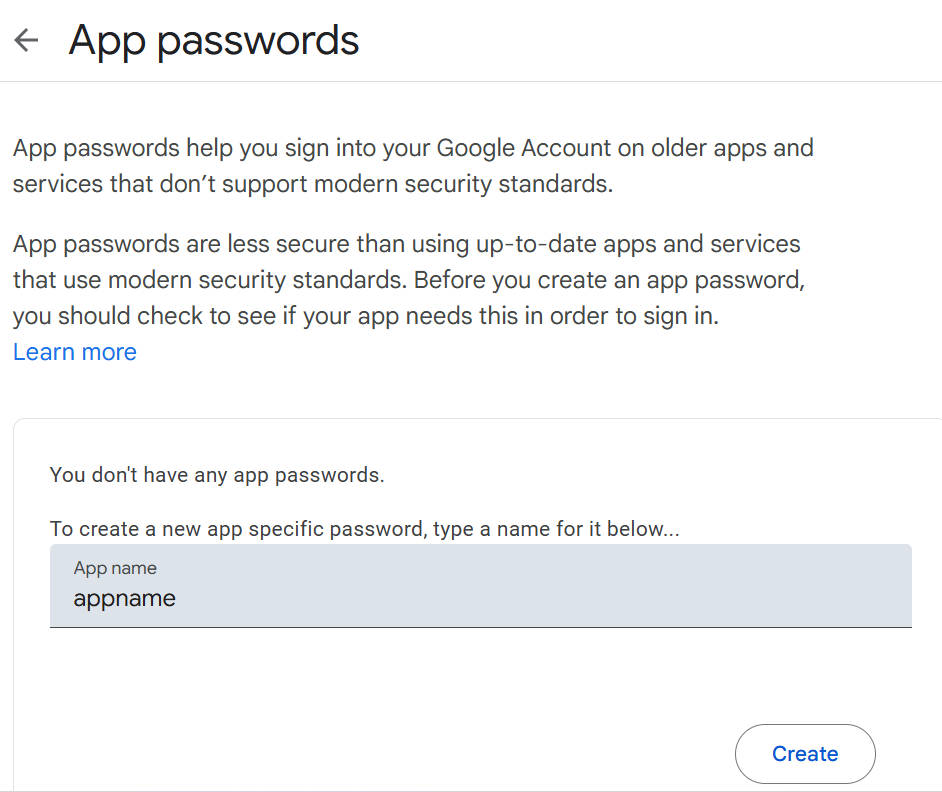
This 16-character password will only be displayed once. It must be copied and saved securely before closing the page.
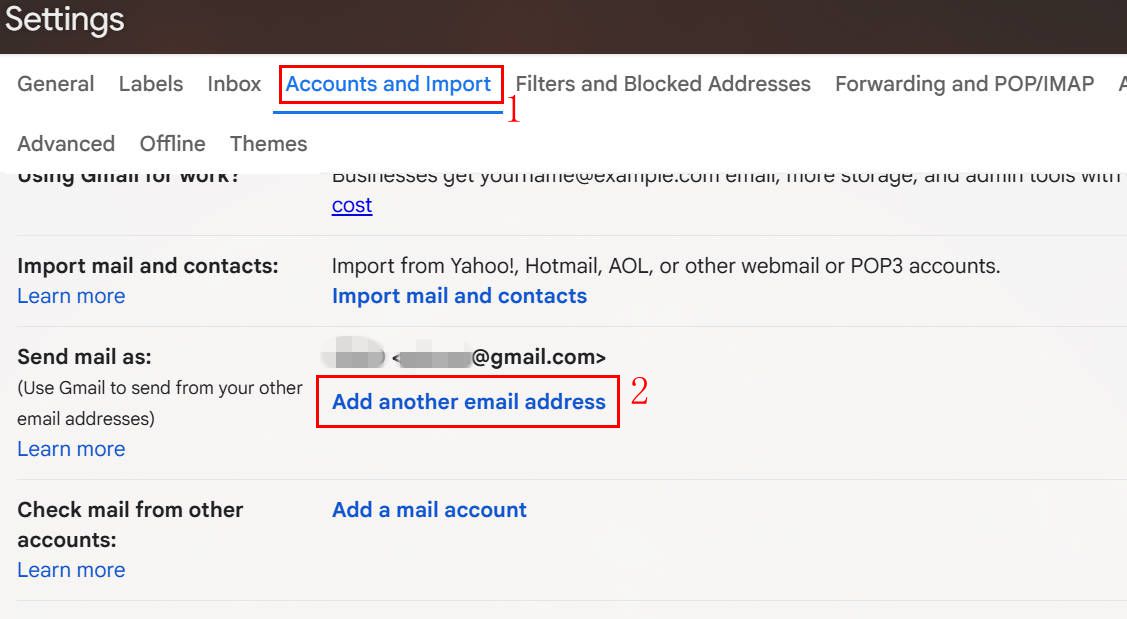
Now, navigate to Gmail settings, Accounts and Import - Add another email address:
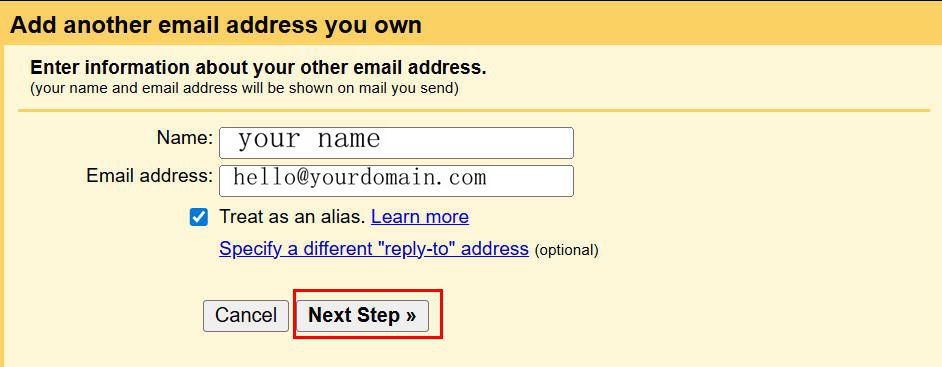
Enter the custom domain email address. The name entered here will be used as the sender name for all outgoing emails from this address.
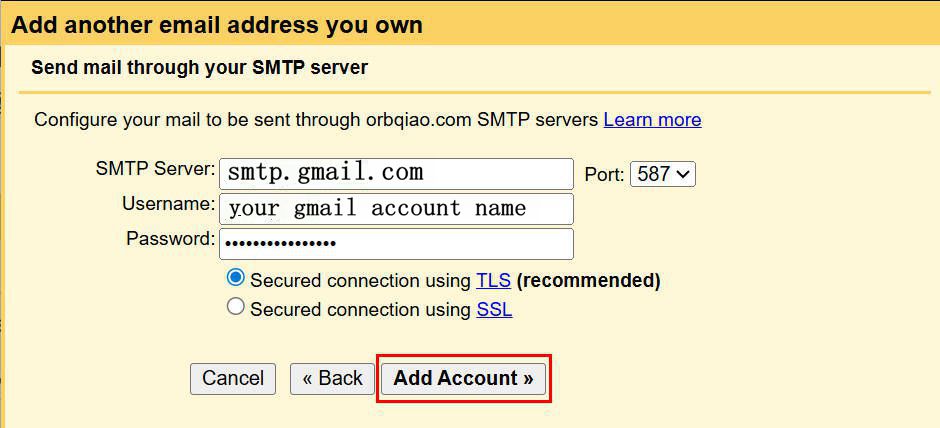
The SMTP server details should be entered as specified below, then click Add Account.
- SMTP Server: smtp.gmail.com
- Port: 587 (TLS) is recommended
- Username: your Gmail account name (Gmail account without @gmail.com)
- Password: The 16-character App Password generated in the previous step
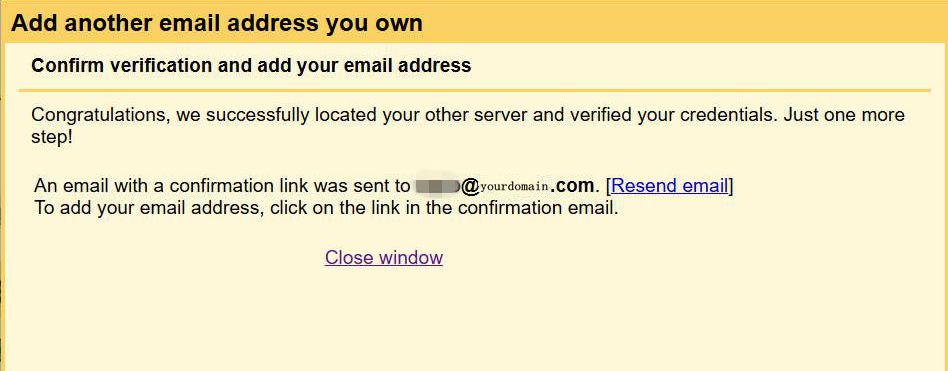
If the configuration is correct, a confirmation email will be sent to the specified Gmail inbox. The verification link within this email must be clicked to finalize the setup.

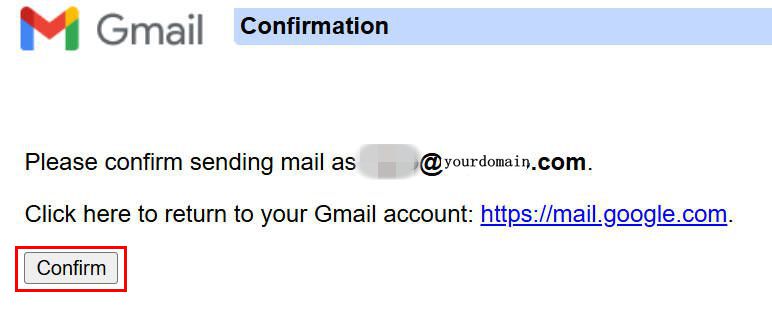
And that’s it. Both sending and receiving of emails for the custom domain can now be managed from the specified Gmail account.
Cover image: The NASA/ESA Hubble Space Telescope image features the spiral galaxy NGC 3285B, a member of the Hydra I cluster of galaxies. From NASA